Who this guide is for
This guide is for anyone unboxing a new Android phone or resetting an old one. You do not need root access or third-party “optimizer” apps. Everything below uses built-in settings.
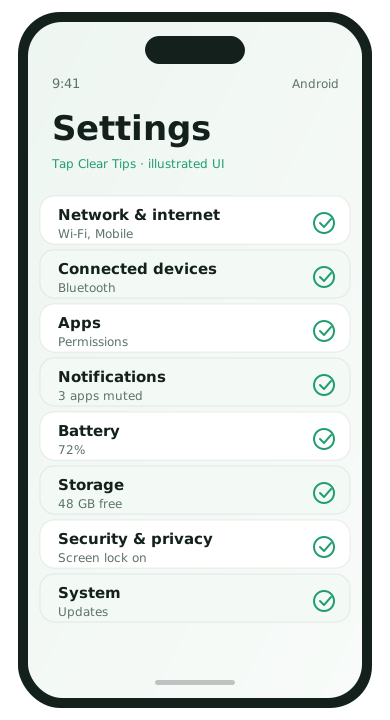
1. Finish Google account and recovery options
Sign in with the Google account you actually want to keep long term. Then immediately set recovery options so a lost password does not lock you out of the device.
- Open Settings → Passwords & accounts (or Google).
- Confirm the correct account is signed in.
- Visit your Google Account security page and add a recovery email/phone.
- Turn on 2-Step Verification if it is not already enabled.
2. Set a strong screen lock
Biometrics are convenient. A PIN or password is still the foundation. Avoid birthdays and repeated digits.
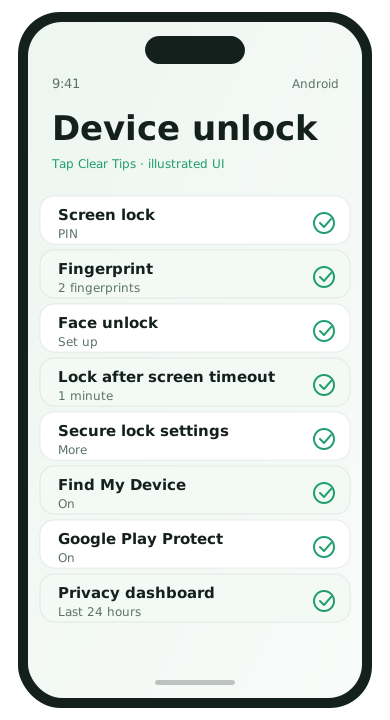
- Go to Settings → Security & privacy → Device unlock.
- Choose PIN, pattern, or password.
- Add fingerprint or face unlock only after the lock method is set.
- Set the screen to lock quickly (30 seconds to 2 minutes is a good range).
3. Control notifications before apps train bad habits
Most phone stress comes from alerts you never asked for. On a new device, silence low-value apps early.
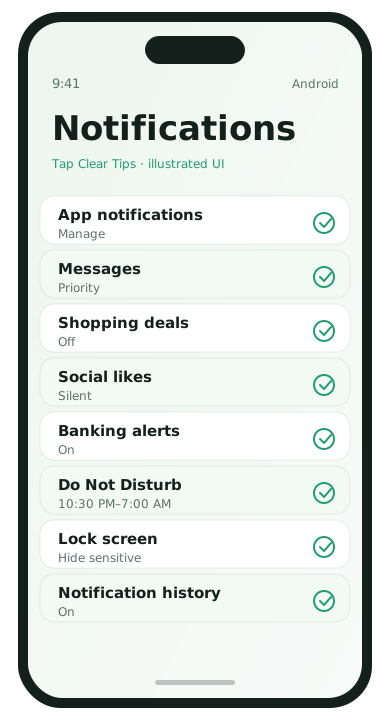
- Open Settings → Notifications.
- Review recently installed apps one by one.
- Keep alerts for calls, messages, banking, and calendars.
- Turn off promotional and “suggested content” notifications.
Tip: If an app offers “pause notifications,” use that for shopping and social apps during work hours.
4. Tighten location, camera, and microphone permissions
Many apps ask for access on first launch. Default answer should be “only while using the app,” not “all the time.”
- Open Settings → Security & privacy → Privacy controls (or Permission manager).
- Check Location, Camera, Microphone, and Photos/Files.
- Revoke access for apps that do not need it.
- Prefer one-time or while-in-use access when offered.
For a deeper walkthrough, see How to manage app permissions the smart way.
5. Turn on Find My Device
If the phone is lost, remote location and lock options matter more than any wallpaper setup.
- Open Settings → Google → All services → Find My Device.
- Turn Find My Device on.
- Confirm Location is available for the feature to work.
- Test sign-in at android.com/find from another device.
6. Choose what backs up automatically
A new phone is the best moment to decide what is protected. Contacts and photos are usually the highest priority.
- Open Settings → Google → Backup.
- Turn on device backup for call history, settings, and apps if available.
- Open Google Photos and confirm Backup is enabled for Camera photos.
- Check that Contacts sync is on for your Google account.
Need a fuller migration plan? Back up contacts and photos before switching phones.
7. Set storage and download defaults
Phones fill up faster than people expect—mostly from messaging media and duplicated downloads.
- Open Settings → Storage and note free space.
- In your browser and messaging apps, disable automatic media download on mobile data if you want.
- Move large downloads to a files folder you can prune monthly.
- Avoid installing “phone cleaner” apps that promise huge gains.
8. Dial in display and battery basics
Comfort settings reduce eye strain and accidental battery panic on day two.
- Open Settings → Display.
- Enable Dark theme if you prefer it, and set Adaptive brightness.
- Open Settings → Battery and review Battery Saver thresholds.
- Turn off Always-on display if you want longer standby time.
9. Organize the home screen with intent
A clean home screen is not about aesthetics alone. It reduces the time you spend hunting for the next action.
- Keep only daily apps on the first home screen.
- Group shopping, travel, and social apps into folders.
- Put Settings, Photos, and Phone where your thumb reaches easily.
- Remove widgets you never glance at.
10. Update the system, then leave auto-update on
New phones sometimes ship a release behind. Install updates early while you still have time and Wi‑Fi.
- Connect to Wi‑Fi.
- Open Settings → System → System update (or Software update).
- Install available updates and reboot.
- Keep auto-download on Wi‑Fi enabled.
Common mistakes on new Android phones
- Granting every permission during first app launch
- Skipping Find My Device because setup felt long enough
- Installing five cleaner/booster apps before learning built-in tools
- Never checking which apps can send notifications
Quick day-one checklist
- Google account + recovery + 2FA
- Screen lock + biometrics
- Notification cleanup
- Permission review
- Find My Device on
- Backup and Photos sync confirmed
- System update installed
What to do next
After setup, watch battery behavior for two or three normal days. If drain feels off, use Phone battery draining fast? Check these 8 causes before changing random settings.
Setup FAQ
- Should I restore a messy old backup?
- Only if you need the data. Otherwise set up fresh and sign into accounts selectively.
- How soon should I update?
- Before you install dozens of apps, update the OS on Wi‑Fi.
- Do I need a cleaner app on day one?
- No.
- What if I skip Find My Device?
- Turn it on now—future you will thank you.