Before you start
- Have your Apple ID email and password ready
- Connect to reliable Wi‑Fi
- Keep the old phone nearby if you are transferring data
- Charge both devices above 50% if possible
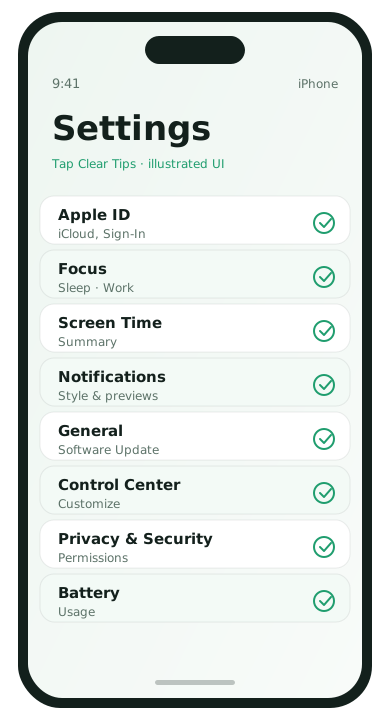
1. Choose the right setup path
During setup, iPhone offers Quick Start, iCloud restore, or a fresh start. Pick based on what you need—not what feels fastest in the moment.
- Quick Start / transfer: best when your old iPhone is healthy and nearby
- iCloud restore: useful when the old phone is gone but backups exist
- Set up as new: best if the old phone was cluttered or unstable
2. Secure your Apple ID first
Your Apple ID is the key to iCloud, purchases, Find My, and message history. Treat it like a bank login.
- Open Settings and tap your name.
- Confirm the correct Apple ID is signed in.
- Tap Sign-In & Security.
- Turn on two-factor authentication if it is not already on.
- Review trusted phone numbers and recovery contacts.
3. Turn on Find My and confirm network settings
- Go to Settings → [your name] → Find My.
- Enable Find My iPhone.
- Turn on Find My network and Send Last Location if offered.
- From another device, sign in at iCloud.com and confirm the phone appears.
4. Set iCloud Backup on a schedule you can trust
Automatic backups only help if they actually complete. Check storage before you assume you are covered.
- Open Settings → [your name] → iCloud.
- Tap iCloud Backup and turn it on.
- Connect to Wi‑Fi, plug in power, and run Back Up Now once.
- Confirm the latest successful backup timestamp.
If iCloud storage is full, free space or prioritize Photos/Contacts first. See How to back up contacts and photos.
5. Clean notification defaults early
- Open Settings → Notifications.
- For each noisy app, tap it and choose what deserves Lock Screen, Banners, and Sounds.
- Turn off notification previews on the Lock Screen if you share spaces with other people.
- Disable Scheduled Summary for anything time-sensitive like messages or banking.
6. Use Focus modes instead of permanent Do Not Disturb only
Focus modes are more flexible than silencing everything. Create one for work and one for sleep.
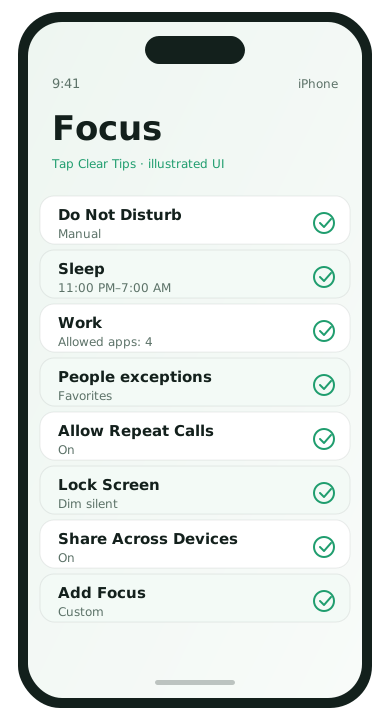
- Open Settings → Focus.
- Set up Sleep with a schedule that matches your nights.
- Allow calls from Favorites if you need emergency exceptions.
- Create a Work Focus that allows calendar, mail, and key chat apps only.
7. Review privacy permissions on day one
- Open Settings → Privacy & Security.
- Check Location Services, Microphone, Camera, and Tracking.
- Set location to While Using the App whenever possible.
- Turn off Allow Apps to Request to Track if you prefer fewer prompts.
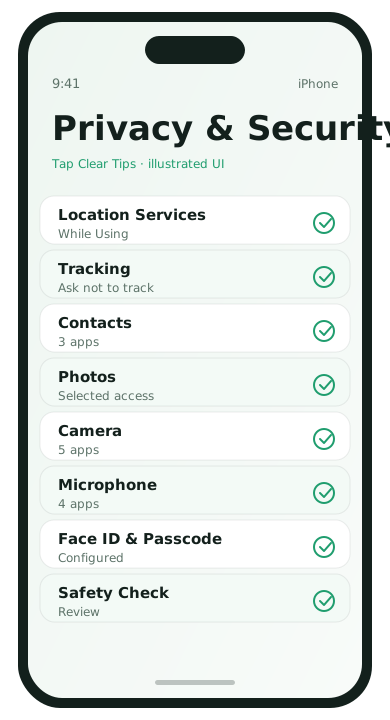
More detail: Manage app permissions the smart way.
8. Customize Control Center for real life
- Open Settings → Control Center.
- Add controls you use weekly: flashlight, dark mode, QR scanner, alarms, screen recording.
- Remove controls you never touch so the list stays short.
9. Decide what belongs on the Home Screen
- Keep Phone, Messages, Maps, Camera, and Photos easy to reach
- Put rarely used utilities in the App Library instead of page three clutter
- Create one folder for travel and one for finance
- Avoid stacking five widgets you will ignore by Friday
10. Update iOS, then leave automatic updates on
- Connect to Wi‑Fi.
- Open Settings → General → Software Update.
- Install the latest available update.
- Enable Automatic Updates so patches do not depend on memory.
First-week habits that help
- When an app asks for a permission, deny first unless the feature clearly needs it
- After two days, revisit Battery settings and look for surprising top apps
- Confirm a fresh iCloud backup completed successfully
- Write down your Apple ID recovery options somewhere safe offline
Common iPhone setup mistakes
- Restoring a chaotic backup and immediately feeling the old phone’s problems again
- Leaving Find My off because setup felt long
- Ignoring iCloud storage warnings until backup quietly stops
- Allowing every app to send banners and sounds
What to do next
If battery life dips after setup, use Phone battery draining fast? Check these 8 causes before resetting the whole phone.
iPhone setup FAQ
- Quick Start or set up as new?
- Quick Start clones convenience and clutter. Choose new if the old phone felt chaotic.
- Why is restore taking hours?
- Photos and apps continue downloading after the initial setup finishes. Stay on Wi‑Fi and power.
- Do I need iCloud+ immediately?
- Only if storage is full and backups cannot finish.
- Should Face ID come before Apple ID security?
- Secure the Apple ID and passcode first, then biometrics.